如何实现小程序调用本地
在测试阶段,微信小程序是可以请求本地服务器的,这里有如下好处:
-
测试不需要经过网络,暂时可以不配置域名等,服务器也不用上线
-
可以看到小程序和服务器的打印,方便调试和找出问题
-
服务器不用频繁修改上架,更改非常方便
开发者工具配置
首先要在微信开发者工具做如下配置:
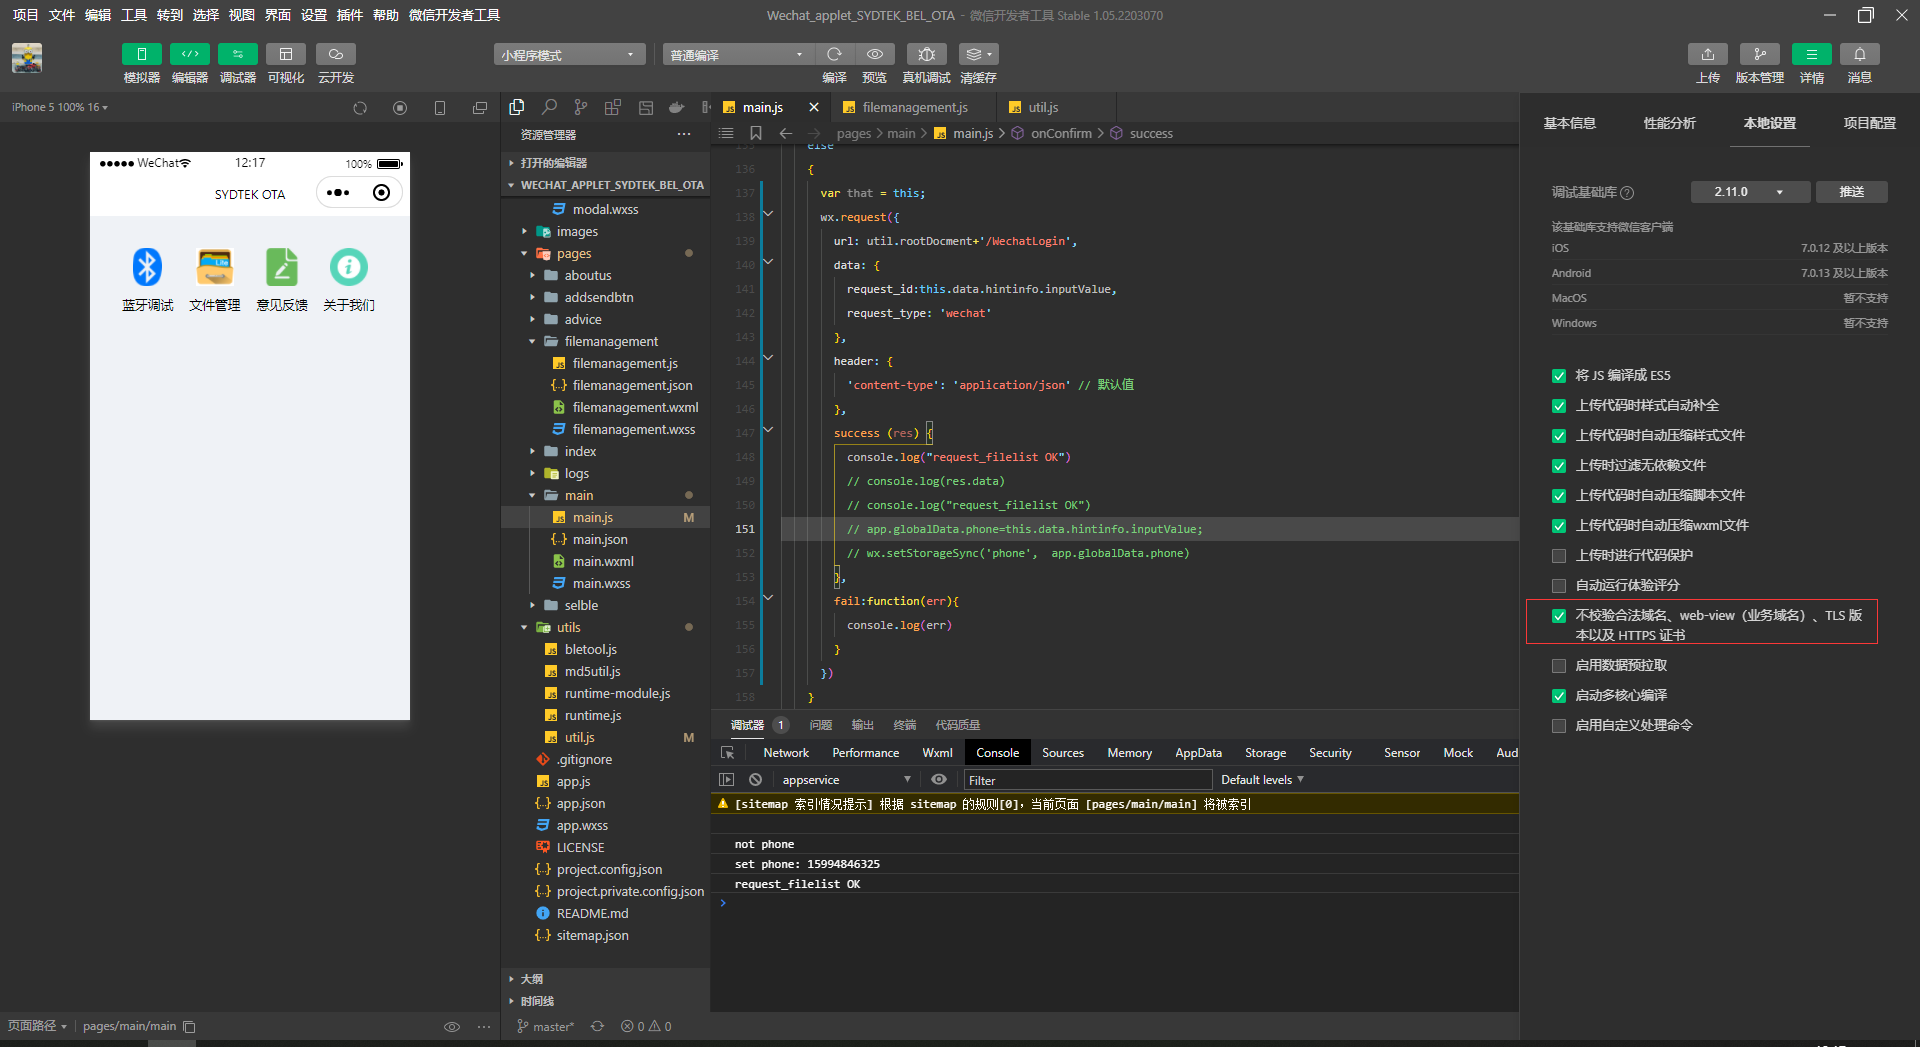
(1)勾选上不检测域名:
设置 » 项目设置 » 本地设置
代码修改
前端
修改请求网址:
- app.js
关注 wx.login 方法即可。
// app.js
App({
  onLaunch() {
    // 展示本地存储能力
    const logs = wx.getStorageSync('logs') || []
    logs.unshift(Date.now())
    wx.setStorageSync('logs', logs)

    // 登录
    wx.login({
      success: res => {
        // 发送 res.code 到后台换取 openId, sessionKey, unionId
        if (res.code) {
          //发起网络请求
          wx.request({
            url: 'http://localhost:8080/eat-server/any/miniApp/auth',
            data: {
              wxCode: res.code
            },
            method: 'post',
            success (res) {
              console.log(res.data)
            }
          })
        } else {
          console.log('登录失败!' + res.errMsg)
        }
      }
    })
  },
  globalData: {
    userInfo: null
  }
})
wx.login({ success: res => { // 发送 res.code 到后台换取 openId, sessionKey, unionId if (res.code) { let params = { wxCode: res.code }; getDataApi.login(params) .then(res=>{ console.log(res, ‘登录结果’); }); } else { wx.showToast({ title: ‘登录失败’, icon: ‘error’, duration: 2000 }); } };
ps: 这个方法可以统一进行封装处理,放在 login.js 中。
后端
添加对应的鉴权方法。
/**
 * 小程序登录管理
 */
@RestController
@RequestMapping("/any/miniApp")
public class AnyMiniAppController {

    @Autowired
    private AuthBiz authBiz;

    /**
     * 登录鉴权
     * @param appAuthReq 入参
     * @return 结果
     */
    @PostMapping("/auth")
    public BaseInfoResp<MiniAppAuthResp> auth(@RequestBody MiniAppAuthReq appAuthReq) {
        MiniAppAuthResp resp =  authBiz.auth(appAuthReq);
        return RespUtil.of(resp);
    }

}
登录方法的改良
app.js
// pages/setting/setting.js
const getDataApi = require('utils/getDataApi.js')

// app.js
App({
  onLaunch() {
    // 登录
    wx.login({
      success: res => {
        // 发送 res.code 到后台换取 openId, sessionKey, unionId
        // 发送 res.code 到后台换取 openId, sessionKey, unionId
        if (res.code) {
          let params = {
            wxCode: res.code
          };
          getDataApi.login(params)
          .then(res=>{
            console.log(res, '登录结果');
            // 持久化
            if(res.respCode == '0000') {
              let result = res.result;
              wx.setStorageSync('tokenId', result.tokenId);
              wx.setStorageSync('wxOpenId', result.wxOpenId);
            } else {
              wx.showToast({
                  title: res.respMessage,
                  icon: 'error',
                  duration: 2000
              });
            }
          });
        } else {
            wx.showToast({
                title: '登录失败',
                icon: 'error',
                duration: 2000
            });
        }
      }
    })
  },
  globalData: {
    userInfo: null
  }
})
- getDataApi.js
避免大量重复的代码。
let BASE_URL = 'http://localhost:8080/eat-server/';

/**
 * 登录
 */
function login(params) {
  return post('any/miniApp/auth', params);
}

/**
  * post方法,对应post请求
  * @param {String} url [请求的url地址]
  * @param {Object} params [请求时携带的参数]
  */
function post (url, params) {
    let tokenId = '';
    let wxOpenId = '';

    // 如果不是登录
    if(url != 'any/miniApp/auth') {
      // 存储到本地
      wx.getStorageSync('tokenId');
      wx.getStorageSync('wxOpenId');
    }

    return new Promise((resolve, reject) => {
      //发起网络请求
      wx.request({
        url: BASE_URL + url,
        data: params,
        method: 'post',
        header: {
          'content-type': 'application/json',
          'tokenId': tokenId,
          'account': wxOpenId,
        },
        success (res) {
          resolve(res.data)
        },
        fail(res) {
          reject(err.data)
        }
    })
  })
}

module.exports = {
  login
}
