11 WebFlux 实战图书管理系统
前言
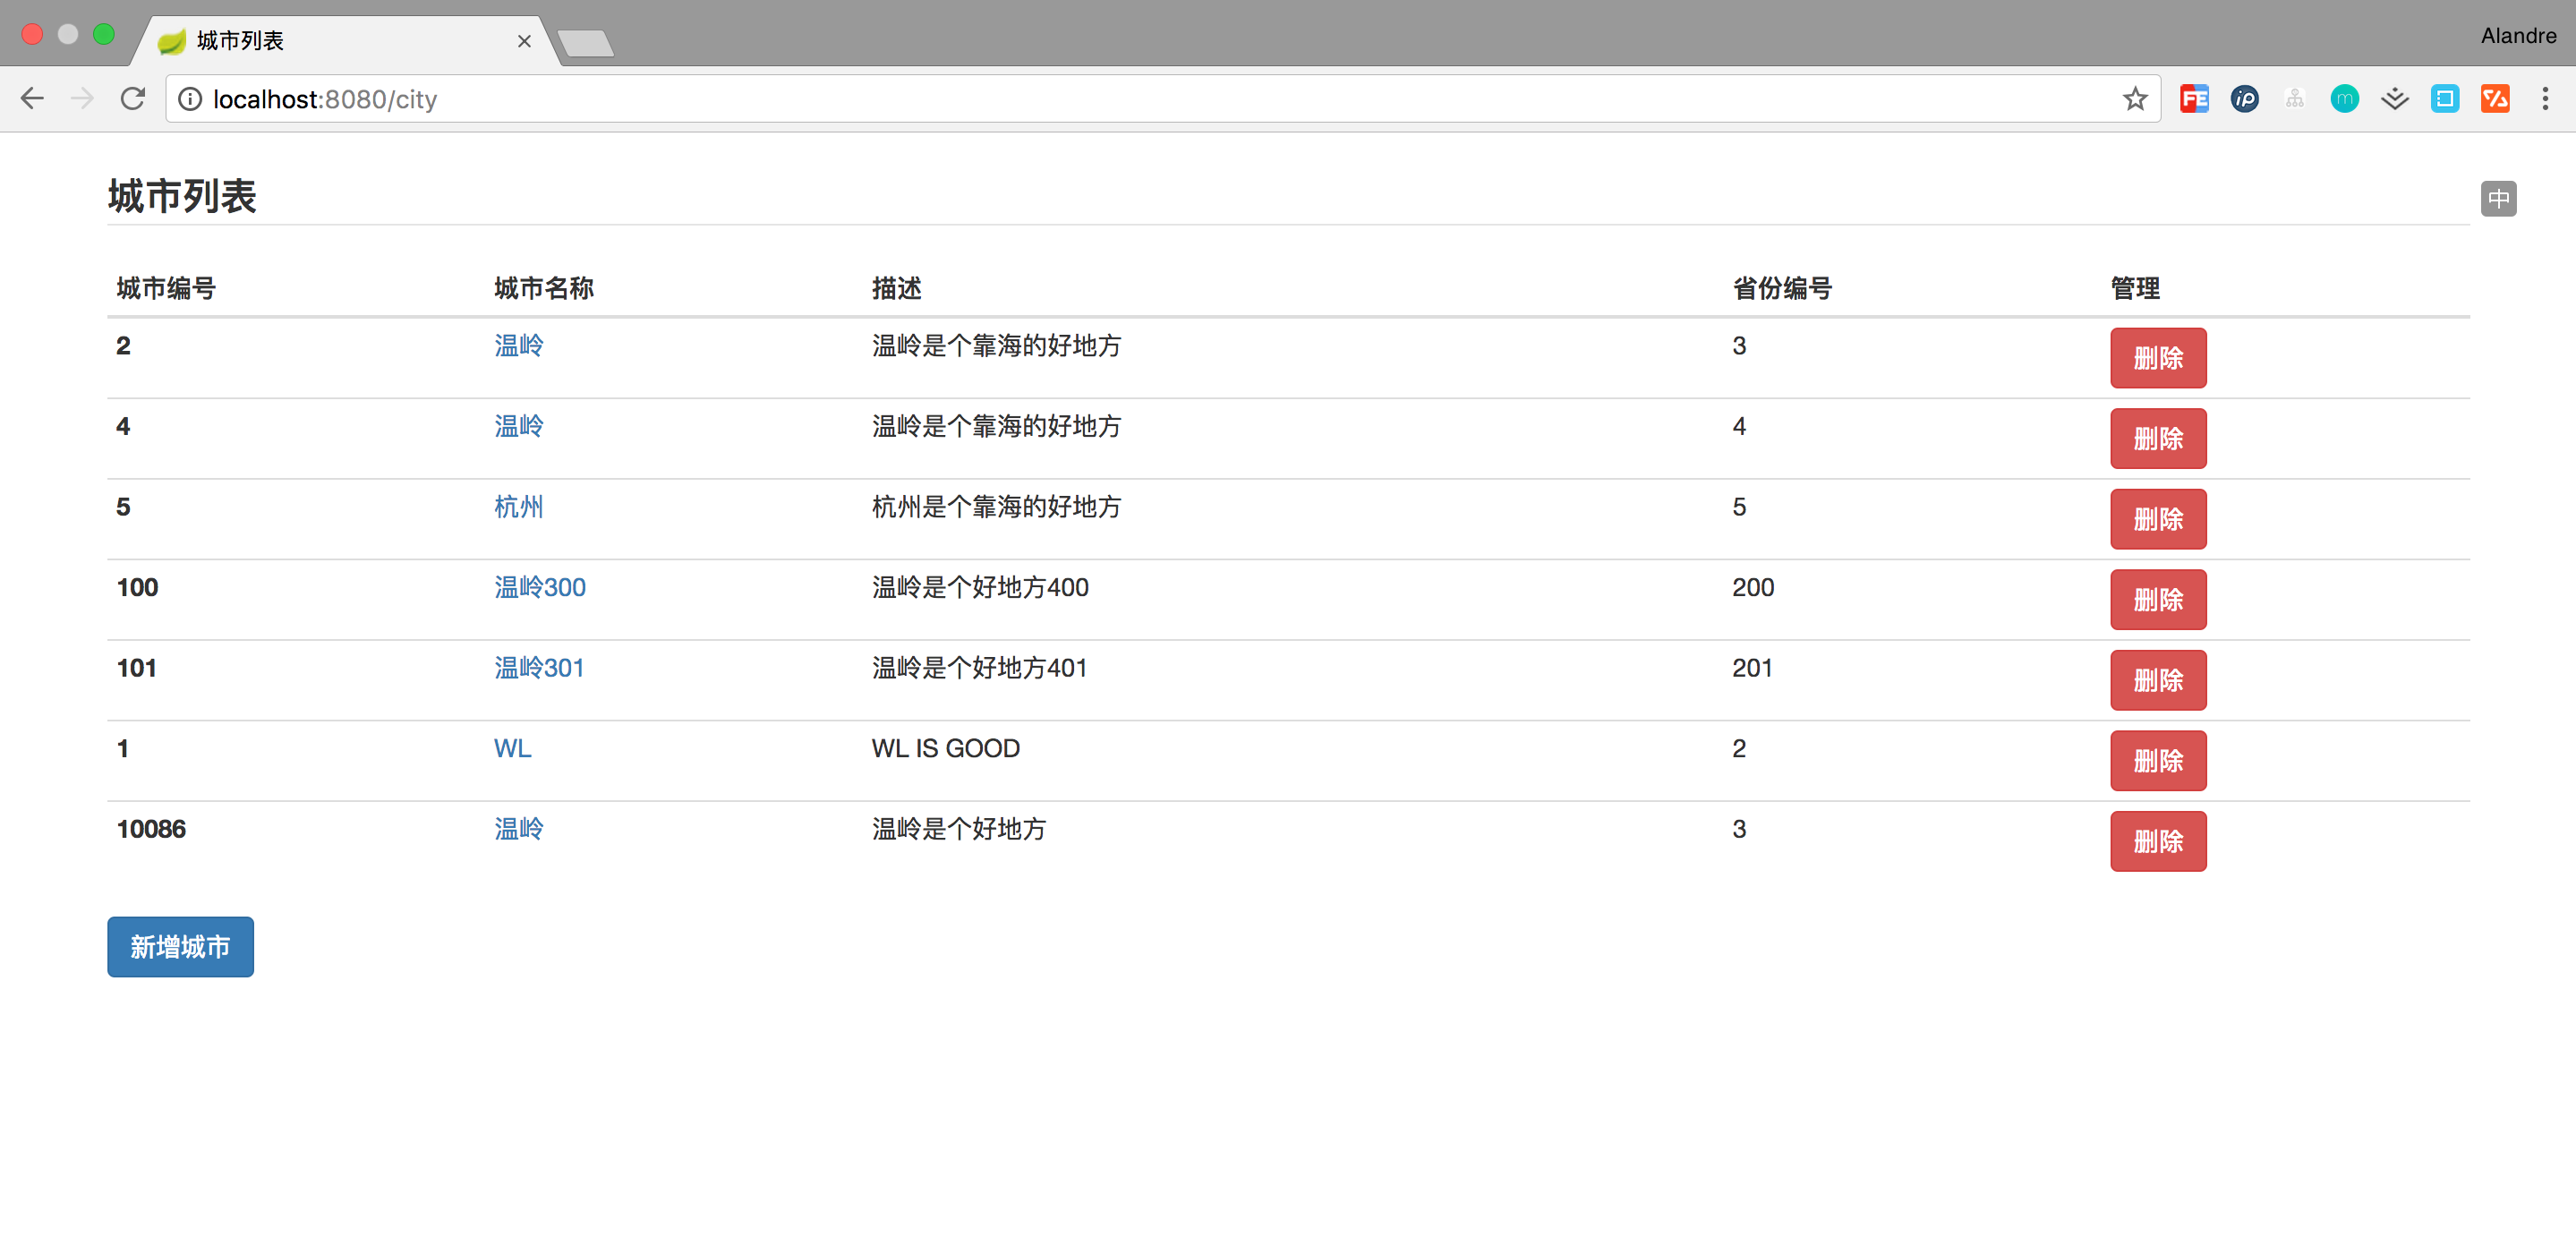
本篇内容我们会实现如下图所示的城市管理系统,因为上面案例都用的是 City,所以这里直接使用城市作为对象,写一个简单的城市管理系统,如图所示:
结构
类似上面讲的工程搭建,新建一个工程编写此案例。工程如图:
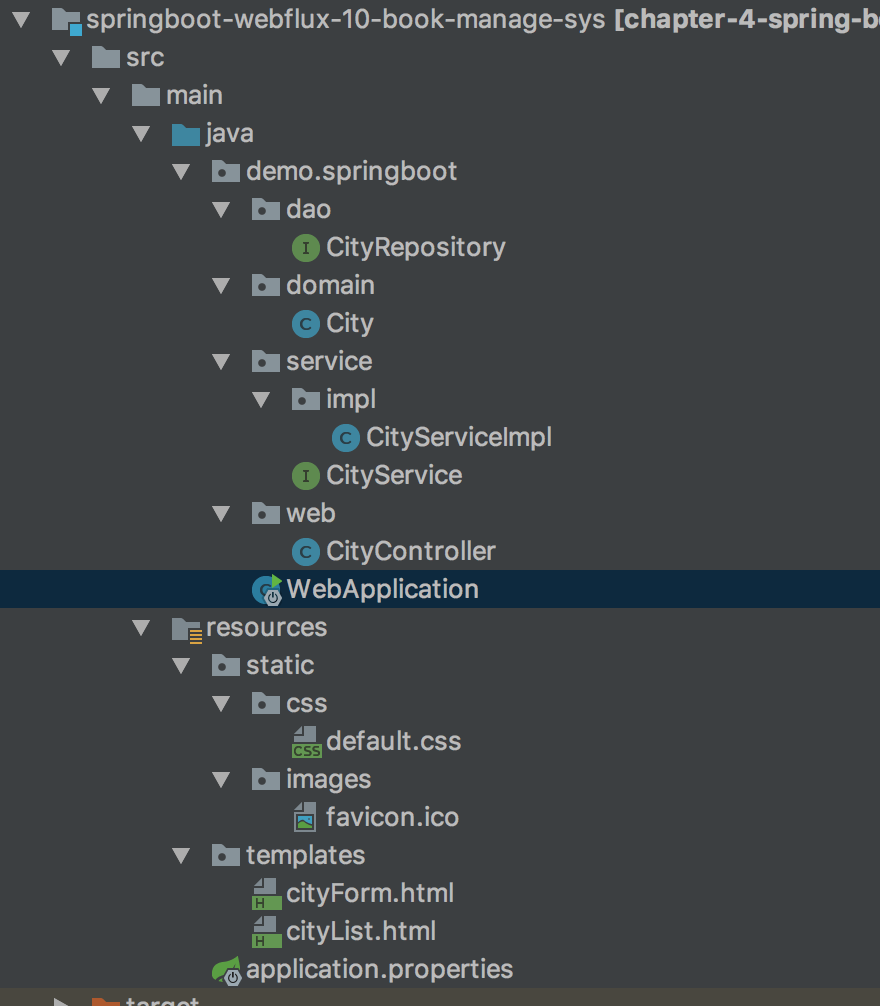
下面目录和上面类似,这边不重复讲解:
- pom.xml Maven 依赖配置
- application.properties 配置文件,配置 mongo 连接属性配置
- dao 数据访问层
本文主要介绍:
- controller 控制层实现
- static 存放 css 图片静态资源
- templates 编写页面逻辑
CityController 控制层
使用注解驱动的模式来进行开发,代码如下:
/// /* city 控制层 /* <p> /* Created by bysocket /*/ @Controller @RequestMapping(value = “/city”) public class CityController { private static final String CITY_FORM_PATH_NAME = “cityForm”; private static final String CITY_LIST_PATH_NAME = “cityList”; private static final String REDIRECT_TO_CITY_URL = “redirect:/city”; @Autowired CityService cityService; @RequestMapping(method = RequestMethod.GET) public String getCityList(final Model model) { model.addAttribute(“cityList”, cityService.findAll()); return CITY_LIST_PATH_NAME; } @RequestMapping(value = “/create”, method = RequestMethod.GET) public String createCityForm(final Model model) { model.addAttribute(“city”, new City()); model.addAttribute(“action”, “create”); return CITY_FORM_PATH_NAME; } @RequestMapping(value = “/create”, method = RequestMethod.POST) public String postCity(@ModelAttribute City city) { cityService.insertByCity(city); return REDIRECT_TO_CITY_URL; } @RequestMapping(value = “/update/{id}”, method = RequestMethod.GET) public String getCity(@PathVariable Long id, final Model model) { final Mono
可以创建不同功能的控制层,来处理不同的 HTTP 业务请求,比如 CityFrontController、CityAdminController 等分别处理不同场景的问题。
- getCityList 方法:处理“/city”的 GET 请求,用来获取 City 列表。
- getCity 方法:处理“/city/update/{id}”的 GET 请求,用来获取 City 信息。
- postCity 方法:处理“/book/create”的 POST 请求,用来新建 Book 信息;通过 @ModelAttribut 绑定实体参数,也通过 @RequestBody @RequestParam 传递参数。
- putCity 方法:处理“/update”的 PUT 请求,用来更新 City 信息,并使用 redirect 重定向到列表页面。
cityForm 提交表单页面
表单页面如下: <!DOCTYPE html> <html lang="zh-CN"> <head>
利用的是 Thymeleaf 语法,上面章节也讲过具体使用方法,这里实现新增城市和更新城市两个操作。巧妙利用了 action 字段去动态判断请求是新增还是更新的控制层方法,然后进行 form 表单提交。
cityList 城市列表页面
列表页面代码如下: <!DOCTYPE html> <html lang="zh-CN"> <head>
这里编写了一个列表对象的循环和简单的页面跳转逻辑,下面看看这两个页面组合使用的运行场景。
运行工程
一个 CRUD 的 Spring Boot Webflux 工程就开发完毕了,下面运行工程验证一下。使用 IDEA 右侧工具栏,点击 Maven Project Tab 选项,单击使用下 Maven 插件的 install 命令;或者使用命令行的形式,在工程根目录下,执行 Maven 清理和安装工程的指令: cd springboot-webflux-10-book-manage-sys mvn clean install
在控制台中看到成功的输出:
… 省略 [INFO] ———————————————————————— [INFO] BUILD SUCCESS [INFO] ———————————————————————— [INFO] Total time: 01:30 min [INFO] Finished at: 2017-10-15T10:00:54+08:00 [INFO] Final Memory: 31M/174M [INFO] ————————————————————————
在 IDEA 中执行 Application 类启动,任意正常模式或者 Debug 模式,可以在控制台看到成功运行的输出:
… 省略 2018-04-10 08:43:39.932 INFO 2052 — [ctor-http-nio-1] r.ipc.netty.tcp.BlockingNettyContext : Started HttpServer on /0:0:0:0:0:0:0:0:8080 2018-04-10 08:43:39.935 INFO 2052 — [ main] o.s.b.web.embedded.netty.NettyWebServer : Netty started on port(s): 8080 2018-04-10 08:43:39.960 INFO 2052 — [ main] org.spring.springboot.Application : Started Application in 6.547 seconds (JVM running for 9.851)
打开浏览器,输入地址:http://localhost:8080/city,即打开城市列表页面:

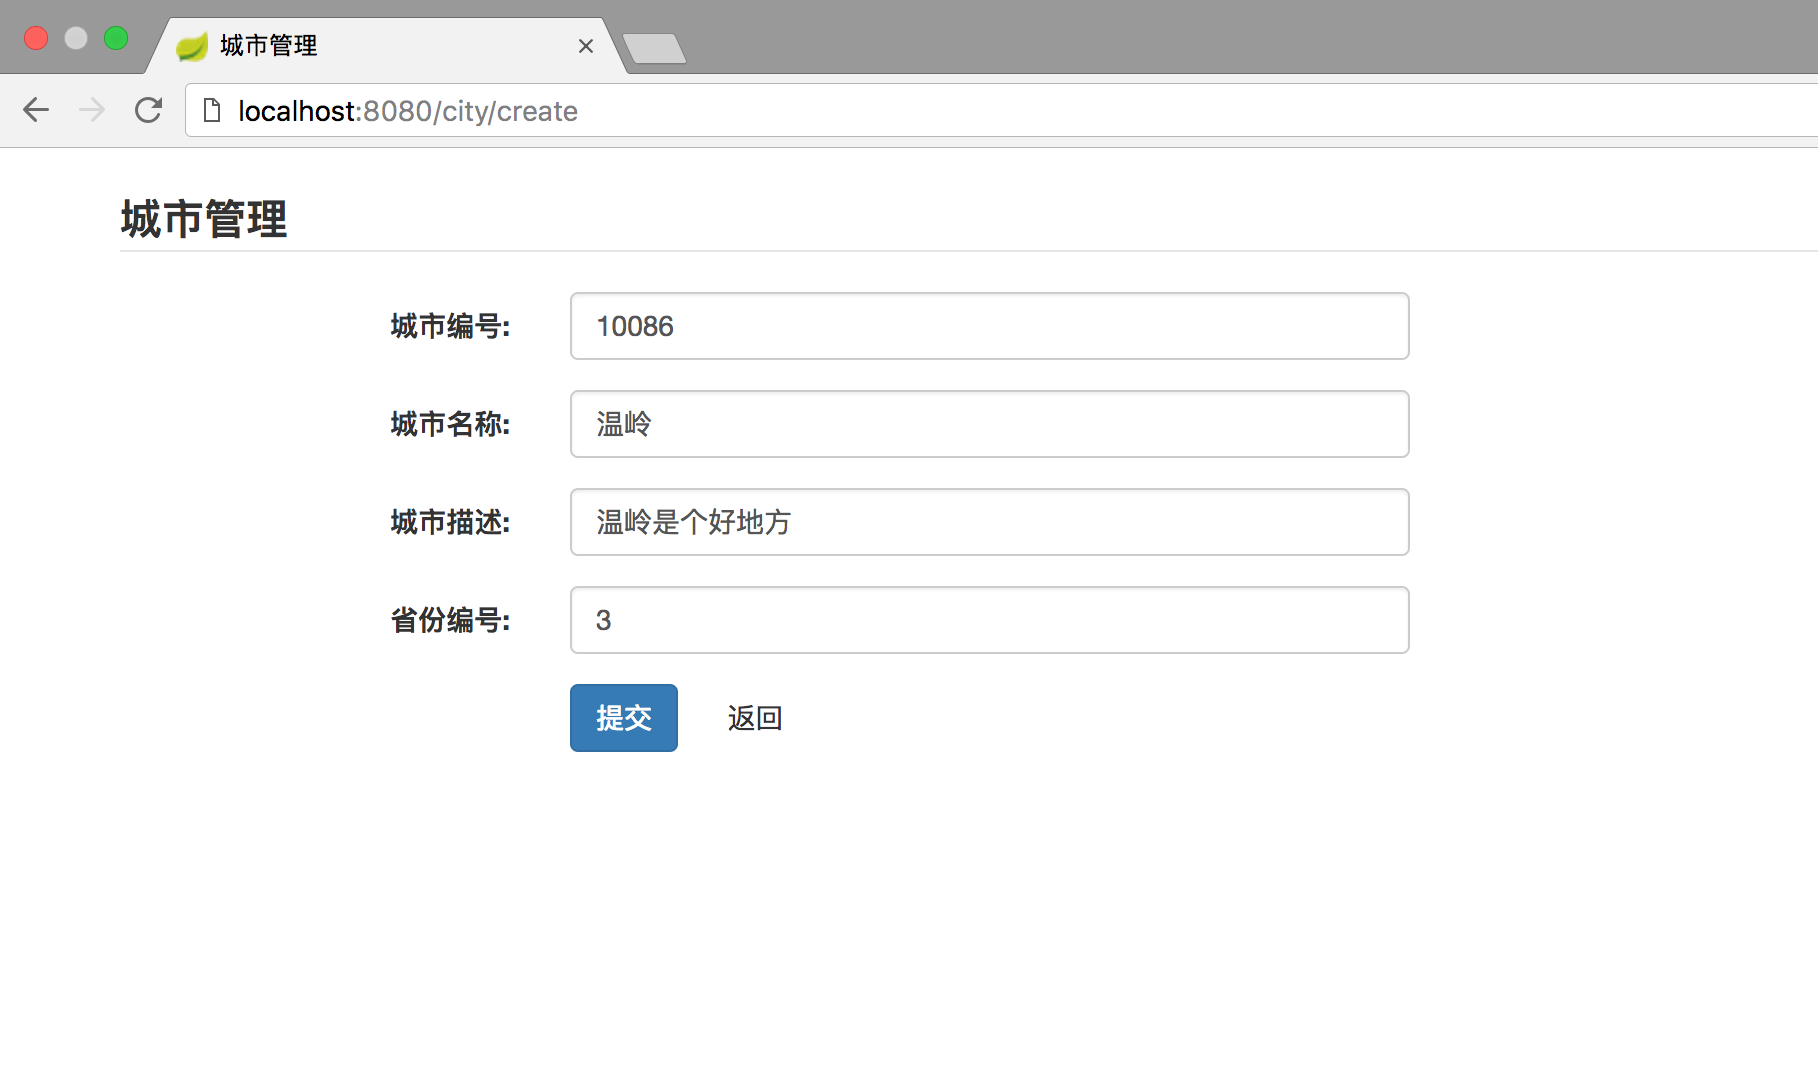
然后新增,或者单击城市名称修改,到表单提交页面:
总结
这里,初步实现了小案例城市管理系统,基本满足日常的 CRUD 业务流程操作。上手教程只是上手,具体复杂逻辑,欢迎一起多交流学习。
参考资料
https://learn.lianglianglee.com/%e4%b8%93%e6%a0%8f/%e6%a1%88%e4%be%8b%e4%b8%8a%e6%89%8b%20Spring%20Boot%20WebFlux%ef%bc%88%e5%ae%8c%ef%bc%89/11%20WebFlux%20%e5%ae%9e%e6%88%98%e5%9b%be%e4%b9%a6%e7%ae%a1%e7%90%86%e7%b3%bb%e7%bb%9f.md
更多学习
更多实时资讯,前沿技术,生活趣事。尽在【老马啸西风】
交流社群:[交流群信息](https://mp.weixin.qq.com/s/rkSvXxiiLGjl3S-ZOZCr0Q)
